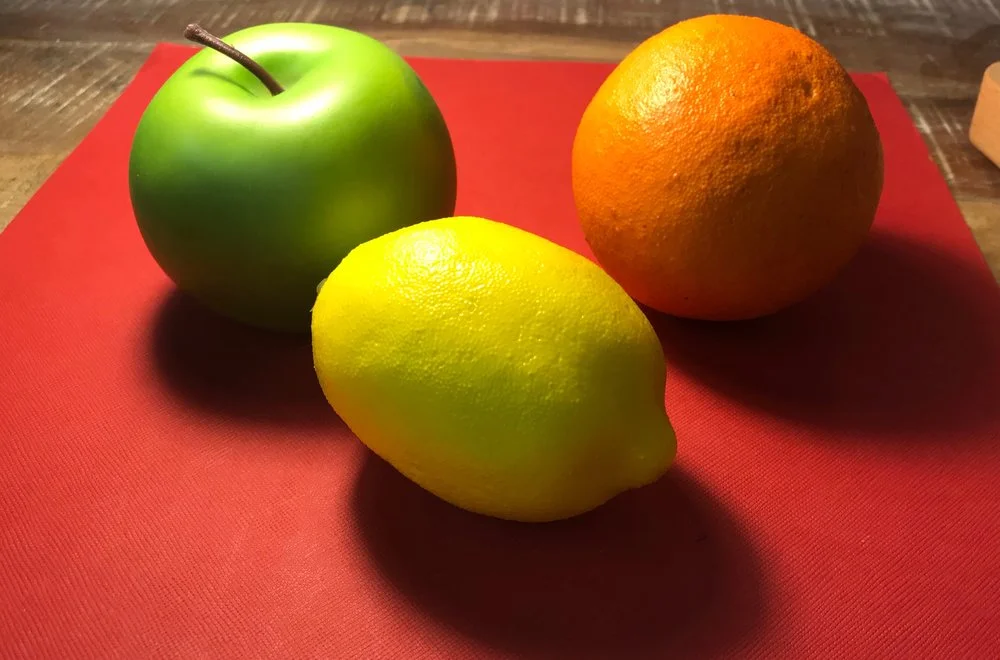
Fruit Painting Step-by-Step
Reference Photo (Above)
Steps
Click on the image above for progression of steps
1. Drawing. Draw a grid (using yellow ochre and lots of Liquin) to help keep the objects in proportion. A grid, real or imagined, on the reference photo will help. Draw the fruit, erasing with a paper towel to make corrections, if needed. Note: I took some liberties with the photo above.
2. General underpainting: Paint the light and darks on each fruit. Emphasize contrast.
3. Paint in cast shadows. Include a proximity shadow, the very dark sliver placed right where the object would touch the surface.
4. Paint in the background starting with pure red at the bottom and grading to darker at the top. Suggestion: Use Burnt Umber plus Alizarin Crimson with the red to darken it. Blend the edges around the fruit to be smooth and slightly blurry (shown below in Fruit Extras.)
5. Second coat. After step 4 is dry, paint another coat over the entire painting. More paint will make it richer and less transparent. Include highlights and reflections. Feather highlights into the body color with a little yellow. Be sure all surfaced are mottled (not smoothed out too much.)
6. Polishing coat. Fine details come last. A delicate outline around the outer edge of each object will give solidity. Blend it well so it doesn't look like a cartoon outline. Add smaller reflections on the fruit and stem. Even the cast shadow may have more nuanced of lights and dark.
Beginning Tips:
Fruit Tips, Above
EDGES OF OBJECTS: Don't leave the edges with bits of white canvas showing OR as a razor sharp line.
CONTRAST: Push contrast farther than you think. Mostly that means, Don't be afraid of the darks.
DON'T USE WHITE, except for highlights.
DROP SHADOW: A background that grades from dark to light (going top to bottom) gives depth to a simple one-color backdrop.


